How To Install A Vent Fan In A Van
Whether you have a luxury vehicle or a budget build, a vent fan is necessary to stay comfortable in the changing seasons. Vent fans make a practical alternative to air conditioning and prevent moisture in the winter. Some would say this is one of the most necessary components of a campervan conversion.
- Before reading, check out our comparison guide: Best roof vent fans for van life
Tools to install a roof vent fan:
- Vent fan
- Drill
- Jigsaw or Angle Grinder or Metal Sheers
- Metal File
- Painter’s Tape
- Clamps
- Butyl Tape
- Lap Sealant
- Rust-oleum
Decide On Placement
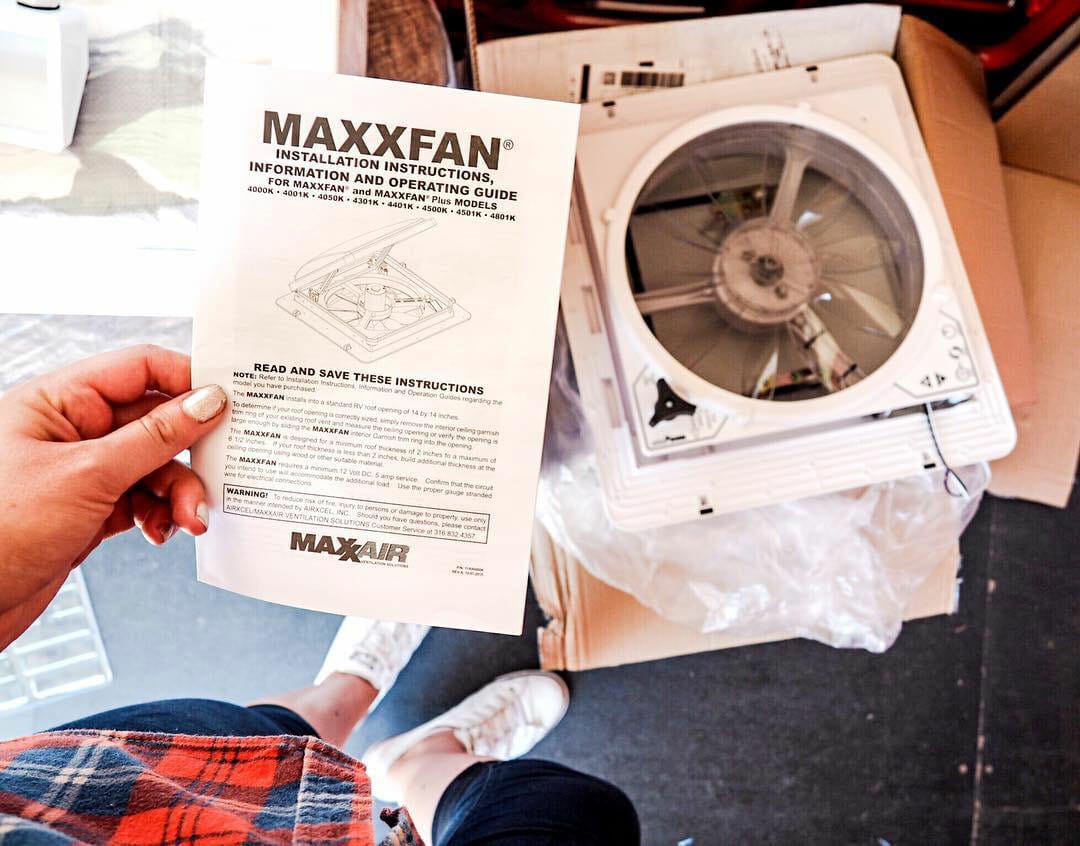
All vent fans come in a standard 14”x14” size. This makes fans universal to swap out on RVs or campers. Where you choose to place the fan in your camper depends on your layout.
Vent fans work best by pulling fresh air in from an opening somewhere in your van and exhausting it out the fan roof. Some people with larger vans even install two fans: one to pull air out and one to push air in for a fully active airflow.
Placing the fan away from a planned air intake, such as an opening window, will give you the best circulation.
- A fan up front will pull air through back windows (if you have them).
- A fan in back will pull air through the front windows.
Visibly take a look at the layout of your roof (inside and out) for locations that would work better or worse for a vent fan. Some Sprinter vans and Ford Transits have gaps in the roof ridges to give a flat surface for installing a fan. Some vans have thick horizontal support ribs that will be hard to cut through.
Our top-choice vent fan for a camper van or RV. It has a built-in rain cover, 10 speeds, and the lowest Amp draw on the market.
Cutting The Fan Opening
Installing a vent fan can be intimidating. Cutting a giant hole in your roof is permeant and locks in your commitment to a van build. Never fear! This is part of the fun.
You’re turning it into your own vehicle and while it might seem like a big project, you won’t be doing anything that will make it less safe to drive or that can’t be fixed.
1. Wipe off your roof with a gentle cloth and a dab of alcohol. This cleans off all of the dirt and oil residue.
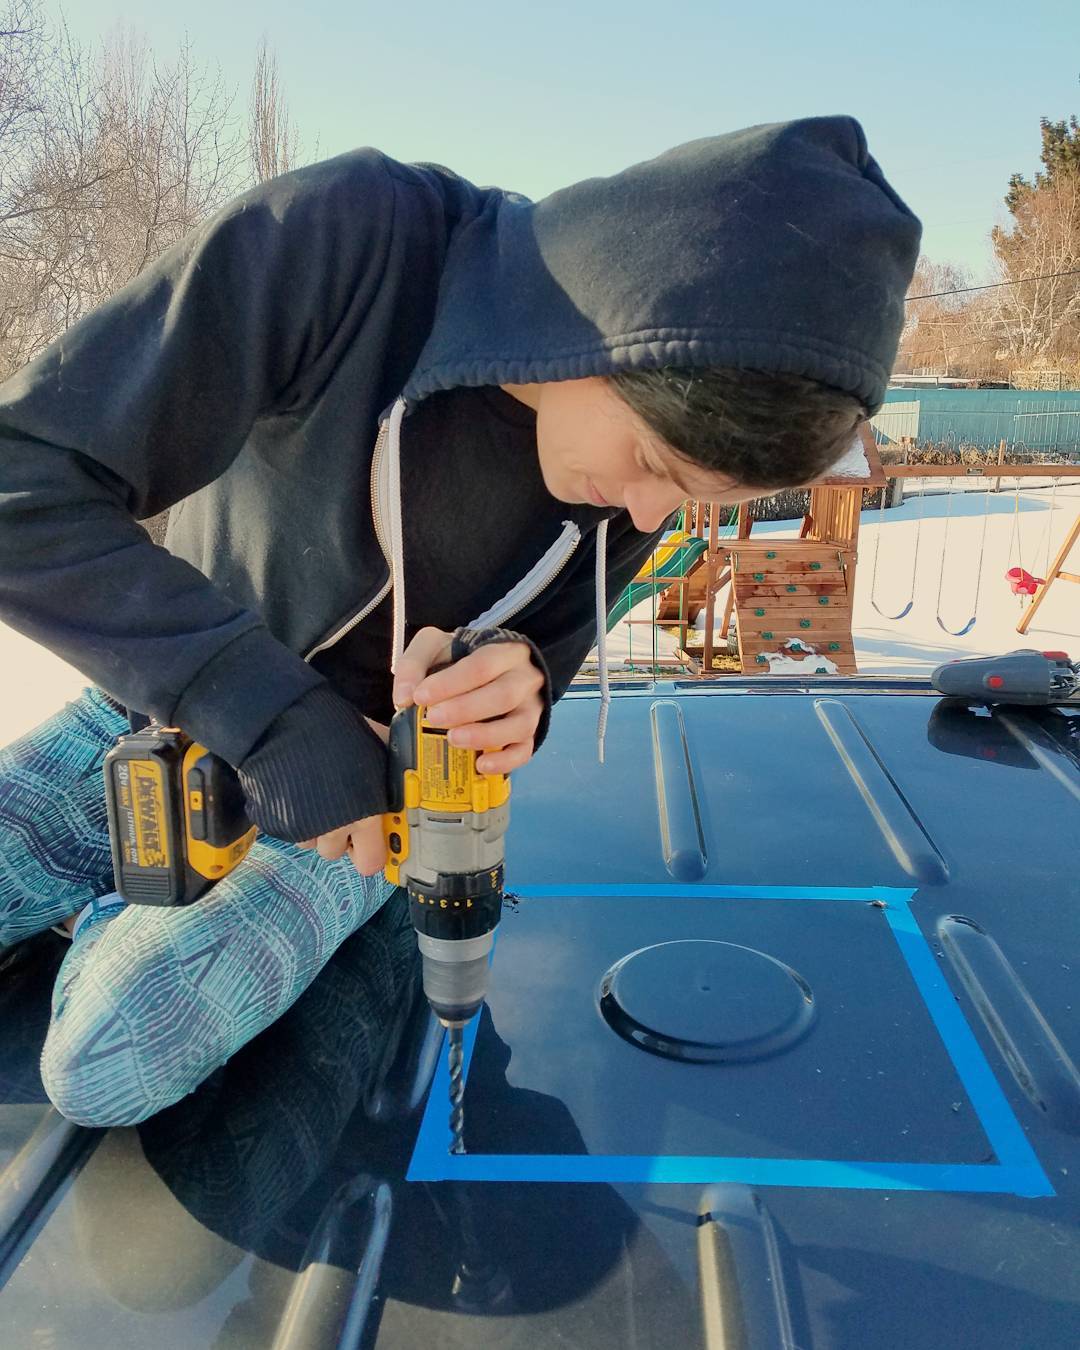
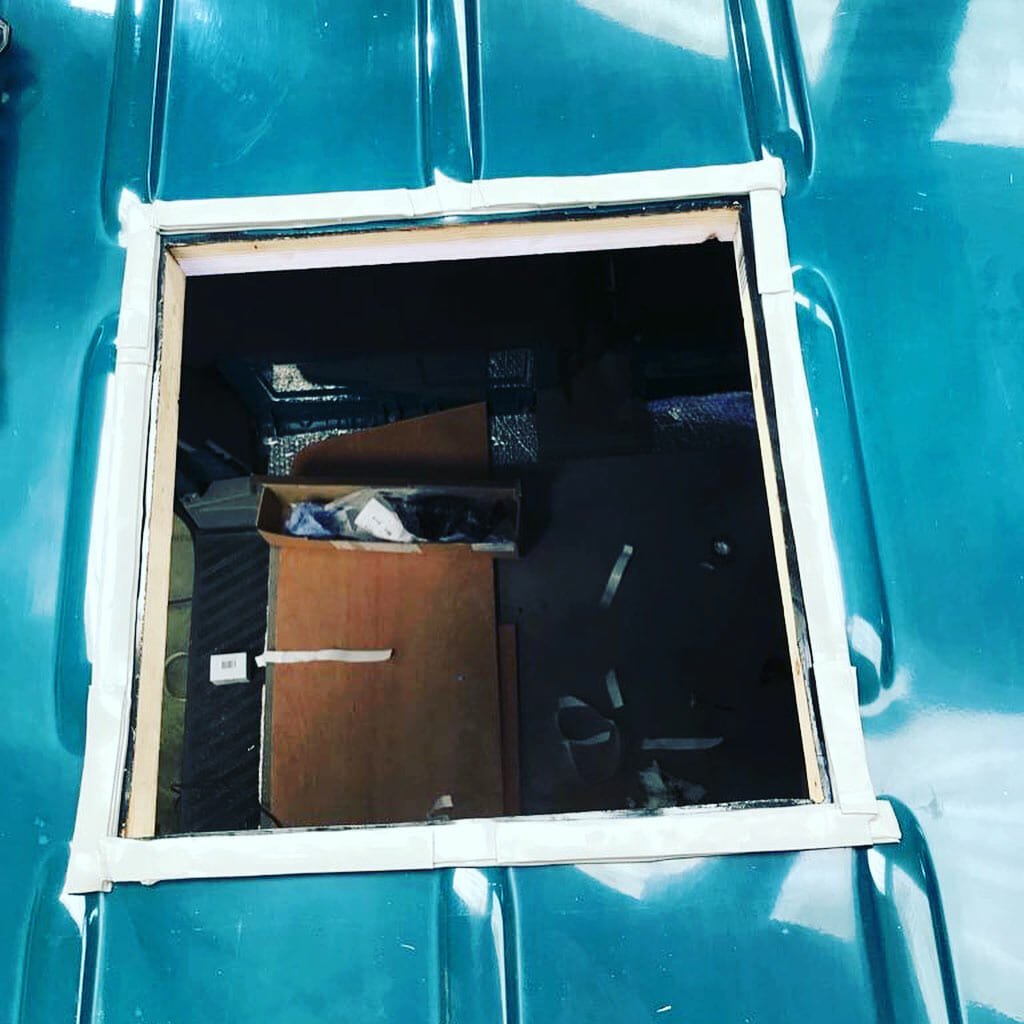
2. Tape a 14×14” square where you intend to place your fan. Try to avoid ridges or deep curves to keep the surface as flat as possible.
3. Drill starter holes on the four corners of your tape template.
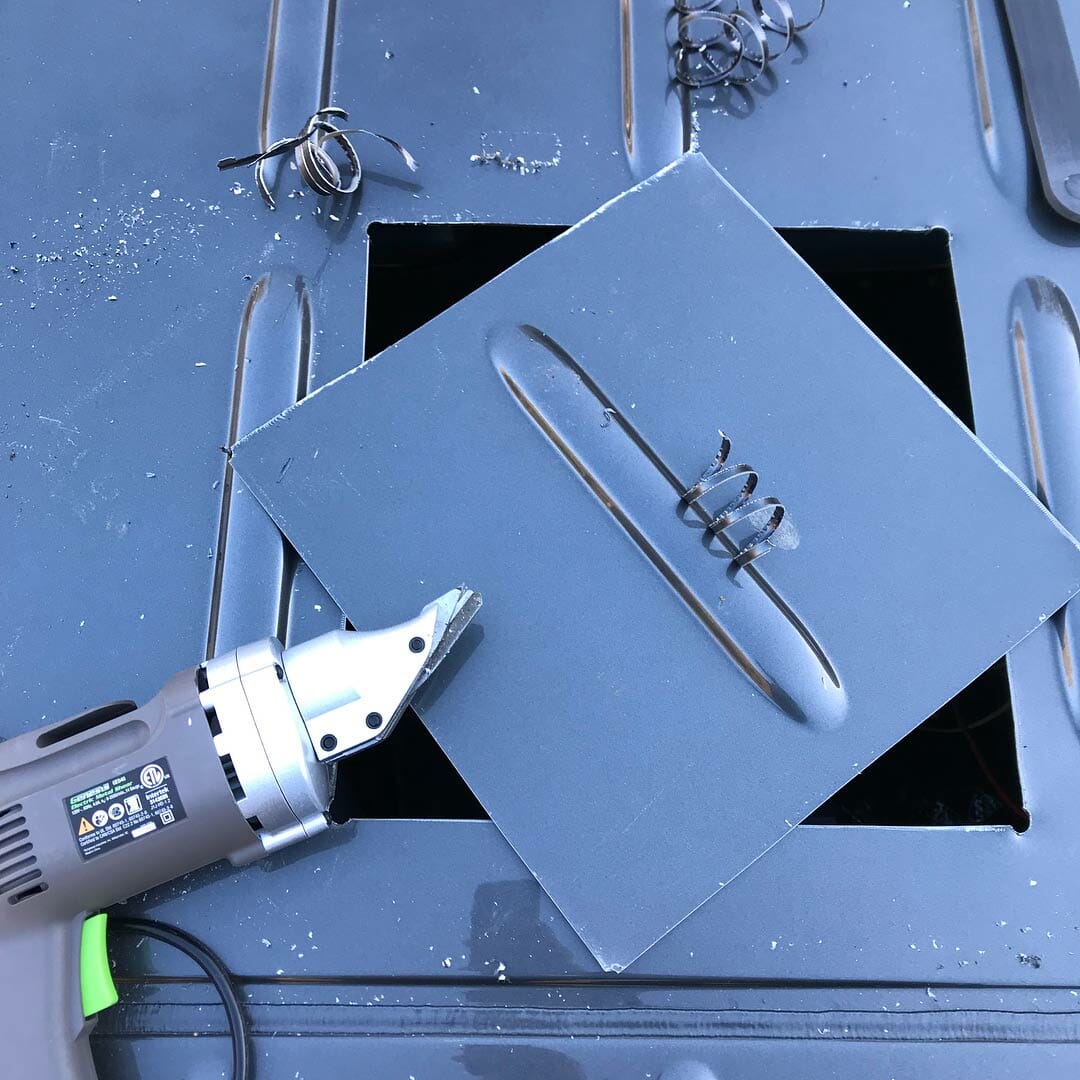
4. Connect the dots by cutting in a straight line between your starter holes. The easiest way to do this is with a Jigsaw. If you do not have a jigsaw an angle grinder or metal sheers can be used.
If you don’t have tools: inexpensive hand sheers can also be used to cut the opening. This process is going to be slow, jagged and require a bit of strength.
Pro-tip: hang up some plastic on inside the van to collect metal filings and anything that falls.
Cleaning Up The Edges
Rust is the enemy of any van lifer. The last thing you want to do is install an expensive fan then end up with a rusty roof in three years. These are the steps you can take to prevent the latter:
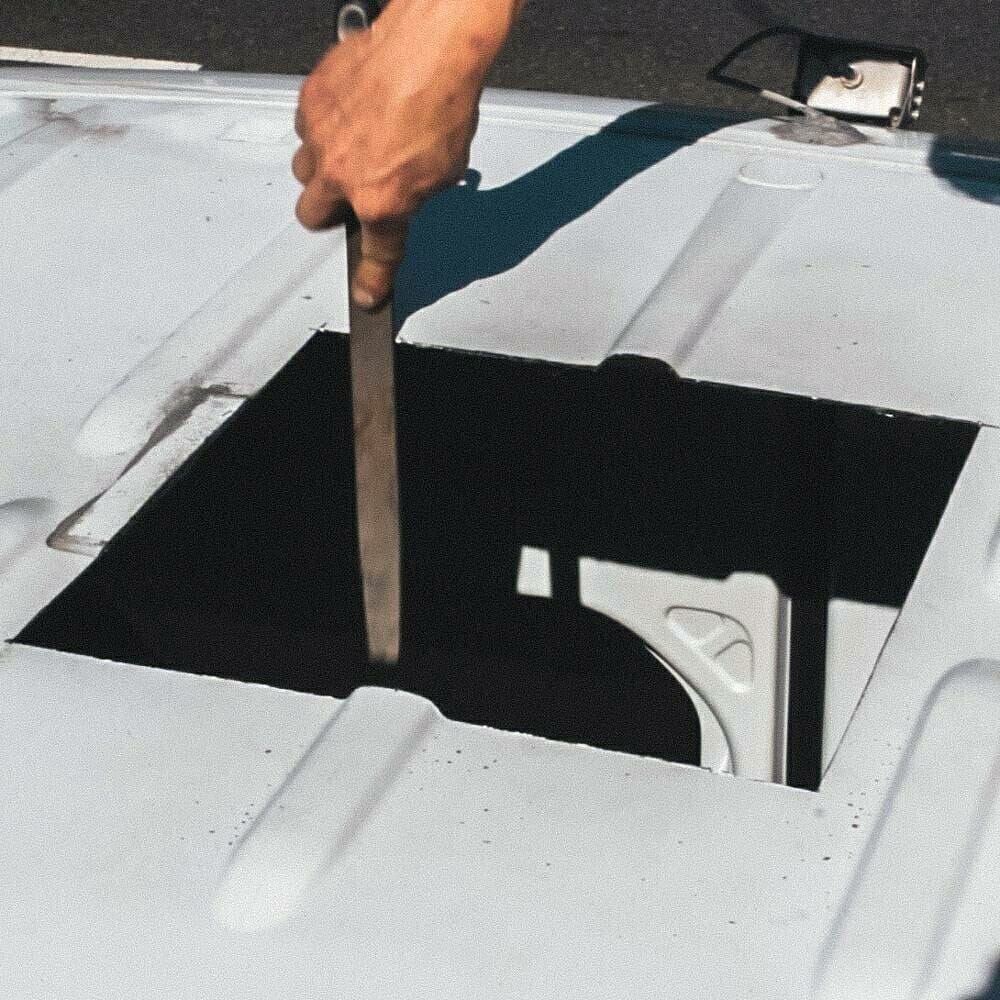
1. File down the edges. Using a metal file will give you a smoother surface to work with and less cracks to fill in.
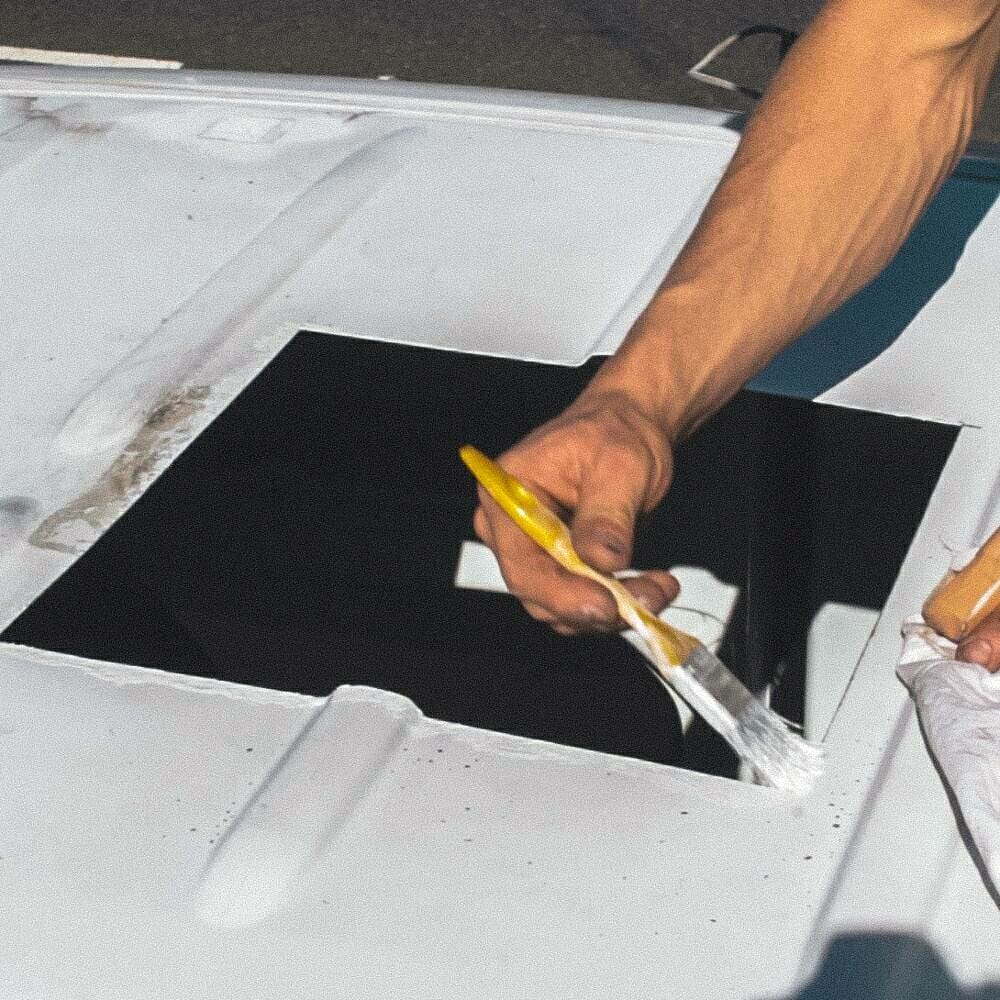
2. Paint the cut lines. Painting over the exposed metal will protect the metal from rain and condensation. We recommend using a coat of Rust-Oleum for best performance.
@travelwithjaz
Installing The Vent Fan Flange
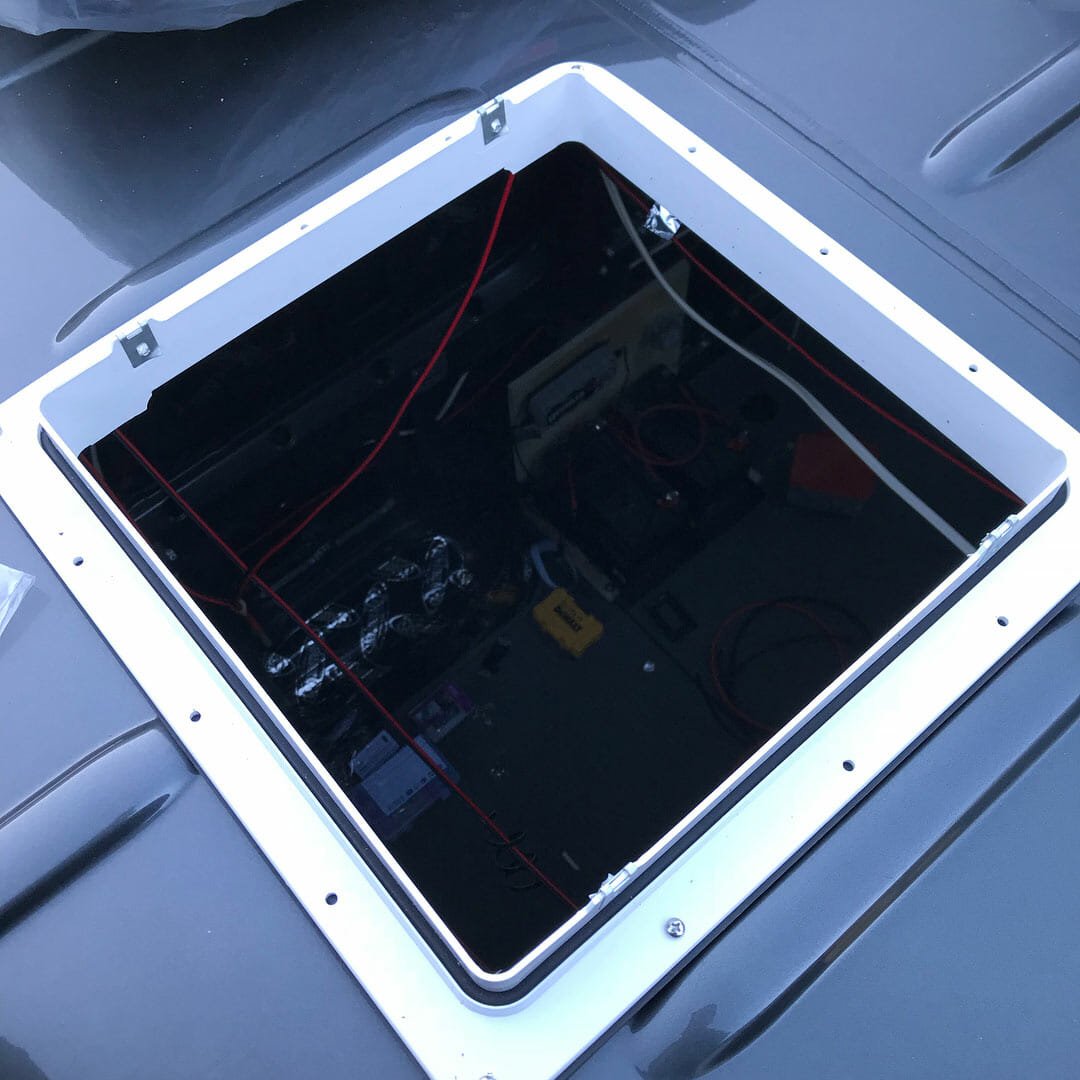
Once the opening is cut, smooth, and painted to prevent rust, it’s time to install the flange. A flange is the plastic frame that the fan sits in. The most important thing to pay attention to is sealing against moisture. That’s why you’re going to want some lap sealant and butyl tape.
Pro-tip: the plastic frame of the flange can begin to bend after years of use. To prevent this, add a few strips of aluminum to fit over the top edge of the flange to keep it sturdy and crack-free.
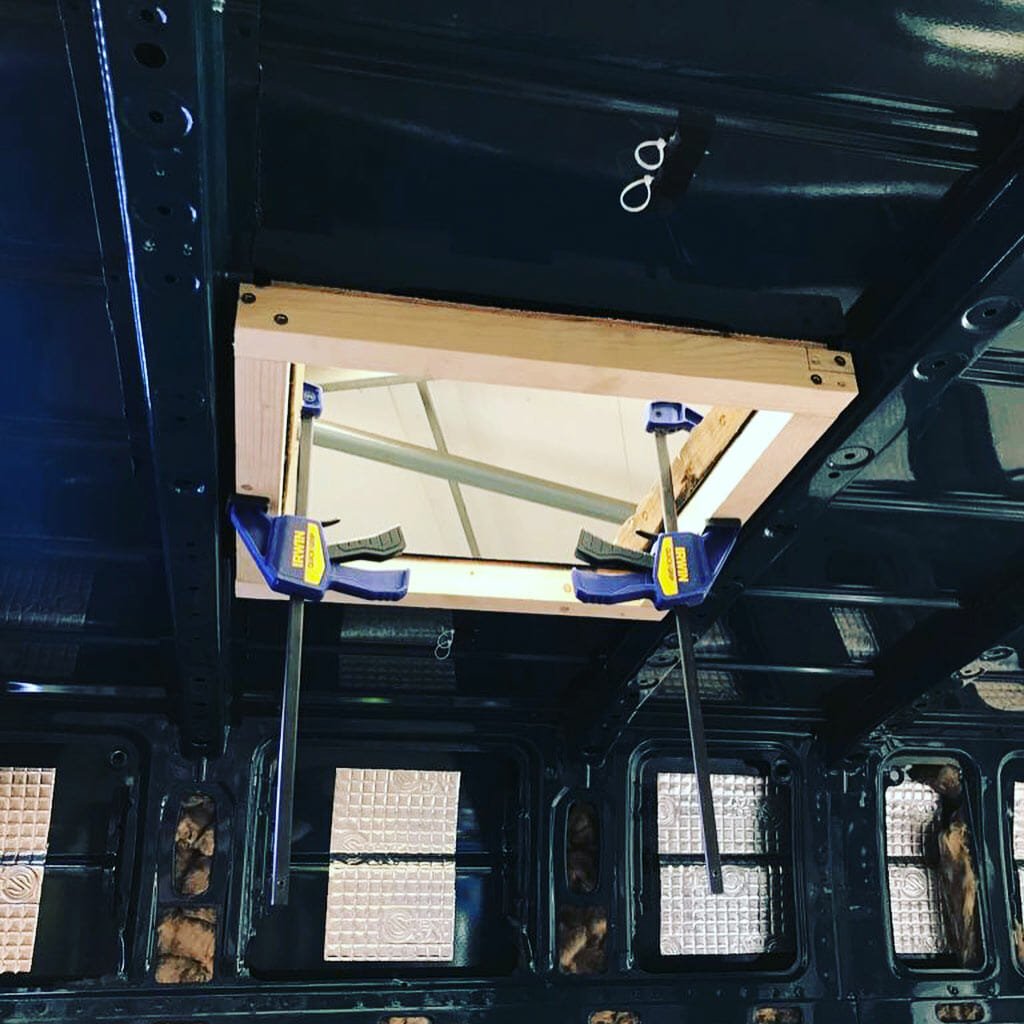
1. Clamp your flange to the roof. This is to use as a template for pre-drilling holes to make sure everything is aligned properly from top and bottom. The flange has connection points where the fan will be screwed in. Rotate the flange so the fan will open front-to-back.
2. Pre-drill holes in the roof. Use your flange as a template to drill holes in the correct position. Then remove the clamps.
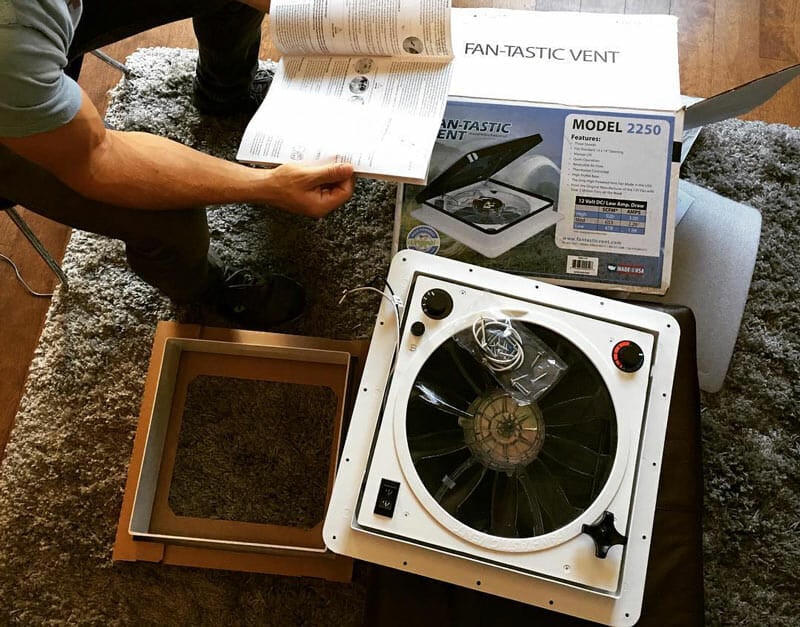
3. Run butyl tape around the top perimeter of the roof. Butyl tape will act as a gasket between the roof and your flange. This is another technique to prevent moisture. If you chose to purchase a Fan-tastic fan, a gasket is provided (hint: it looks like packing foam).
4. Place flange on the roof. Hand-tighten the screws provided to prevent cracking.
5. Seal it up. Run a thick bead of lap sealant around the flange and covering the screws. Caution: this process gets messy! Have some paper towel nearby.
6. Place the vent fan in the flange: four easy screws and you’re done! If you’re not sure how to wire it up, check out one of our guides on 100W solar setup, 200W setup or 450+ Watt solar setup.
Optional: Adding A Vent Fan Roof Adaptor
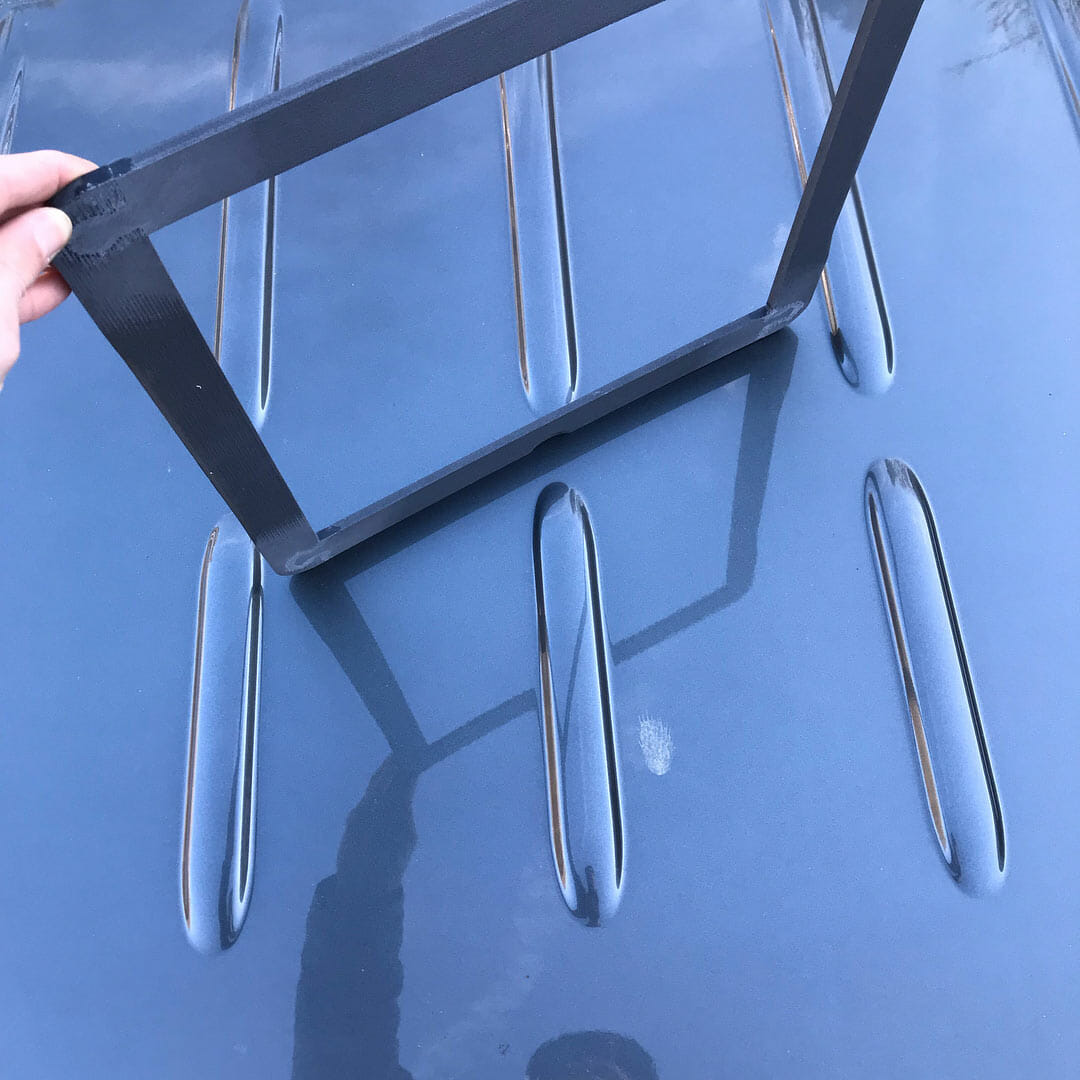
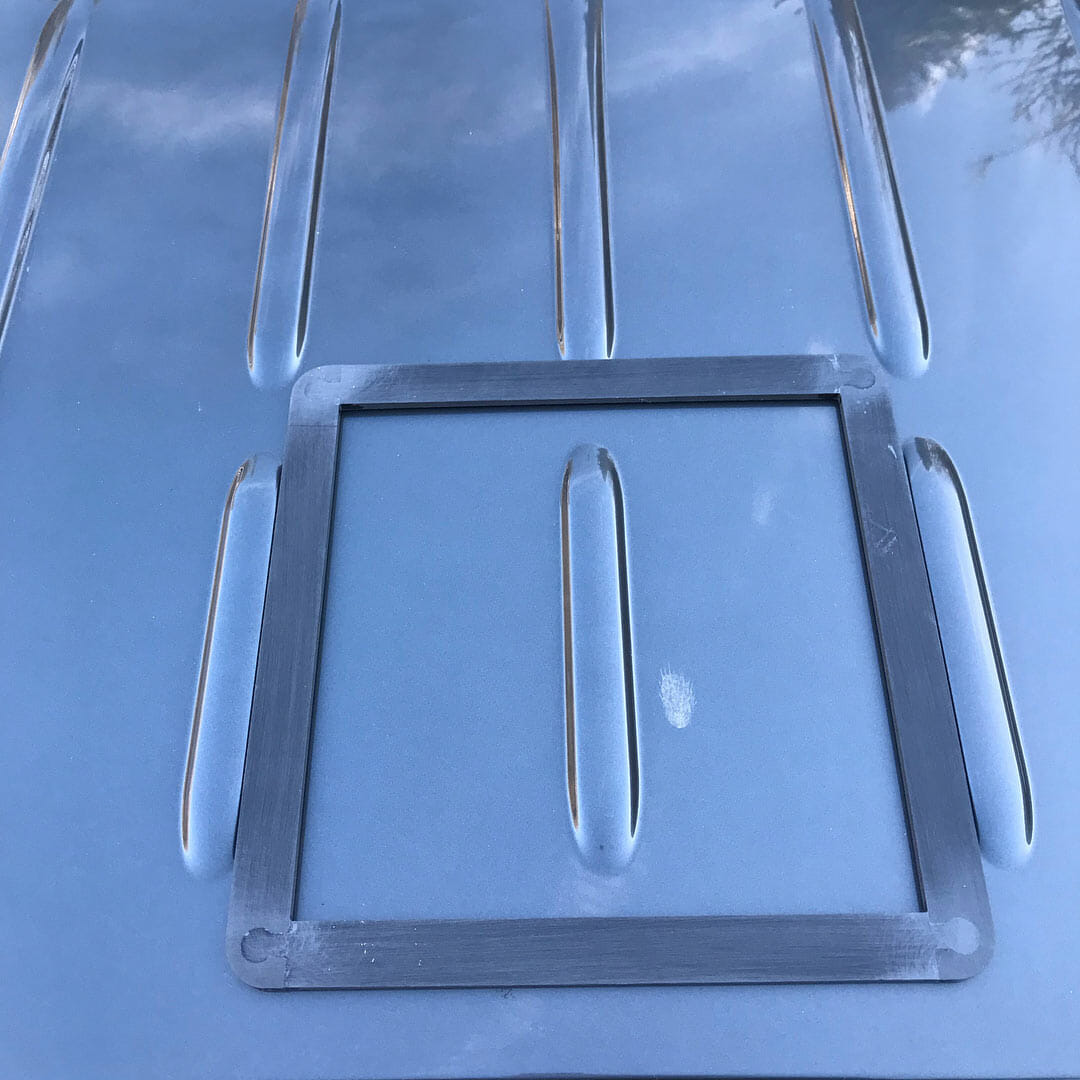
A roof adaptor is a square of plastic designed to level off the vent fan surface. The adaptor has recesses and a slight curve to hug the shape of your van. As a bonus, it can also help guide the layout process.
To install a roof adaptor, cut and clean the hole in the roof as you would normally. Then cover the bottom of the adaptor with 3M Marine Sealant and clamp it to the roof until dry. Afterward, install the vent fan flange as you normally would.
@overlandvanproject
How to install a 12V Roof Vent Fan
Which Fan Should You Buy?
Your budget and desired features are going to play a major role here. To make it easy, we’ve done a comparison guide of the best roof vent fans for van life to help you decide.





Hi, Thanks for the article.
Would it be feasible to install a roof fan and run it off the car’s battery? Provided that this is the only thing drawing power. I will have LED battery op touch lights, a cooler (not frig), and probably charge my phone when the vehicle is running. Would a standard 45amp battery be enough? would I need like a deep cycle 3000 amp battery? Would this not be a good idea altogether? thanks
I have the same question!
No, my fan takes up much of my deep cycle battery power. I’ve put it on a 15amp fuse though it seems to take more in the way of 5amps on a 12-volt system. That said, I highly recommend not running *anything* off your vehicle battery, unless you plan to use that item only while the engine is running.
What ladder did you use to climb on the van top? My van is Ford Transit, medium roof 100.7″ (8.4 ft) high. I need a strong ladder. Can you recommend a ladder? Thank you.
Ming
I have a problem with my Maxx Air 5100K manual fan being very loud when go above 50 MPH on the highway. Especially near tractor trailers and on a very windy day.
I notice that when you crank the cover shut it doesn’t feel like it closes down real tight. Any suggestions how I could go about adding a gasket, weather stripping or something to add a seal and stop the wind noise. Hopefully I’m right on guessing that’s where it’s coming from.
We don’t have any problem with water coming in so I don’t thinking it’s an issue with poor installation. Need good advise please.
BTW It’s a 2018 RamPromaster 2500 159″WB
Hi! Love your site, so much good information in regards to Van lifestyle, thank you. I had a question about the pro tip you noted above, where would you apply the aluminum strip to keep plastic from warping? I don’t think it is obvious to me. Thank you so much.
Did you just use just Rustoleum’s enamel paint? Or did you also use a primer?
Which 3M marine adhesive did you use. 5200 or 4200?
We have a low roof chevy g20. We don’t want to put insulation or paneling on the roof and plan to leave as is. If we want to install a fan, any ideas on where to place it and wire it so that we can cover the wires? Great site with lots of helpful info, thanks!