How To Wire 12 Volt LED Lights In Your Camper Van Conversion
Proper lighting sets the mood for the interior of your campervan. Bright white lights can make your van look sterile. Warm lights can be easier on the eyes. Dimmable or secondary lighting makes it more pleasant to read at night.
When we built our van, we had a great system of LED strip lights built-in but forgot about the fact that there’s no way to dim them. On our next trip to Walmart, small battery powered push-button lights were our first purchase. These have been great for hanging out at night, but certainly something we could have incorporated into the build with better planning.
- Read this related post: Best interior and exterior RV LED lights
Why Choose LED?
LED lights are inexpensive and easy to work with. They draw an extremely small amount of power and don’t get hot to the touch. There’s really no competition when it comes to LED light technology.
The most popular types of overhead lighting are:
- 12V LED Light Strips
- 12V LED Recessed Lights
- Fairy Lights
- Battery Powered Lights
- Solar Lights
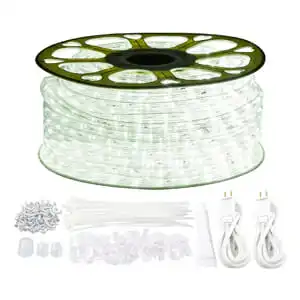
- Waterproof IP65
- 50,000+ hour lifespan
- 50-foot length
- One-year warranty
LED Light Strips
LED light strips are lightweight and versatile. You can cut them to size and run them almost anywhere. They come in a bunch of different colors and are easy to hardwire into your van.
Light strips are so weightless they can be attached with heavy duty double stick tape, zip ties, super glue, or any number of creative solutions. They can be used as primary lights or great secondary lights such as a sink backsplash.
Tips For Purchasing An LED Light Strip
- Be sure to purchase a string of 12 volt DC powered lights
- Choose the appropriate shade of light: bright white, natural white, or warm white to the change the mood.
- Get the desired length. Choose a light strip that can be cut to size. When in doubt, buy longer. They can always be used in extra parts of the build.
- Some light strips have peel and stick adhesive on the back.
How To Cut A Light Strip
Strands often come with cut lines pre-marked in spots that you can cut with an ordinary pair of scissors. Afterward, you’ll be left with metal contacts. These contacts can be either soldered directly together, or connected with some LED crimp on connectors.
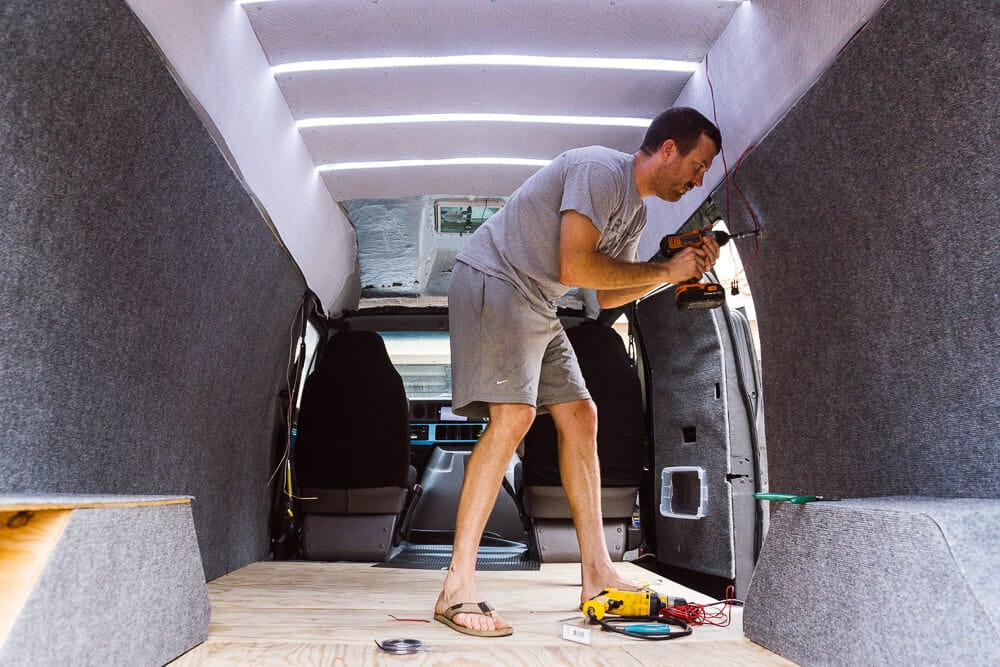
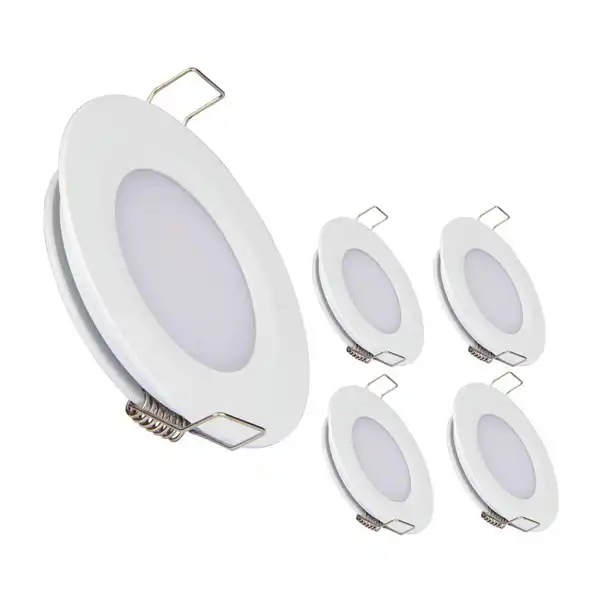
- 50,000-hour lifespan
- 12 volts
- 240 lumens
- Cool and warm light
12 Volt LED Recessed Lighting
I wish I had known about these little recessed lights before I started my van build. They are designed for wiring into RVs and boats so they’re quite small and really make a van look high-end. The process for hardwiring recessed lighting is the same as any 12V light strip. Read below for directions.
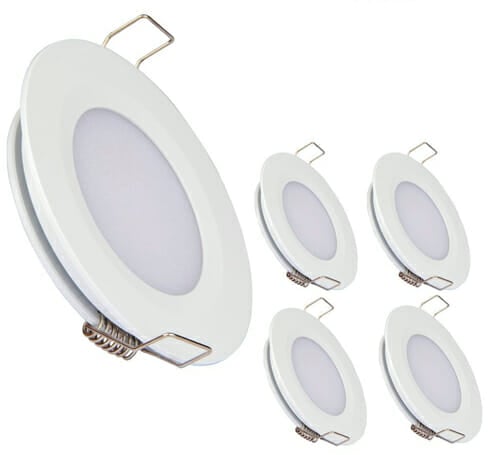
Tips For Purchasing Recessed Lighting
Just like the LED light strips, color of the light plays a big role. Choose between warm or cool light tones. Also consider the exterior color of the light.
They can often be purchased with white or silver finishes to match the interior of your van. Some (but not all) recessed lights come with spring clips for easy installation.
We recommend purchasing this type because it will be the most straightforward to install.
How To Install Recessed Marine Lights
To install spring-clip recessed lights, make a circular cut the size of the innermost ring. Then pop the light in and the spring clips will hold it in place. This is a simple process with no extra tool or glue required! Make sure to leave room for the wires and plan out your wiring before finishing out the ceiling build.
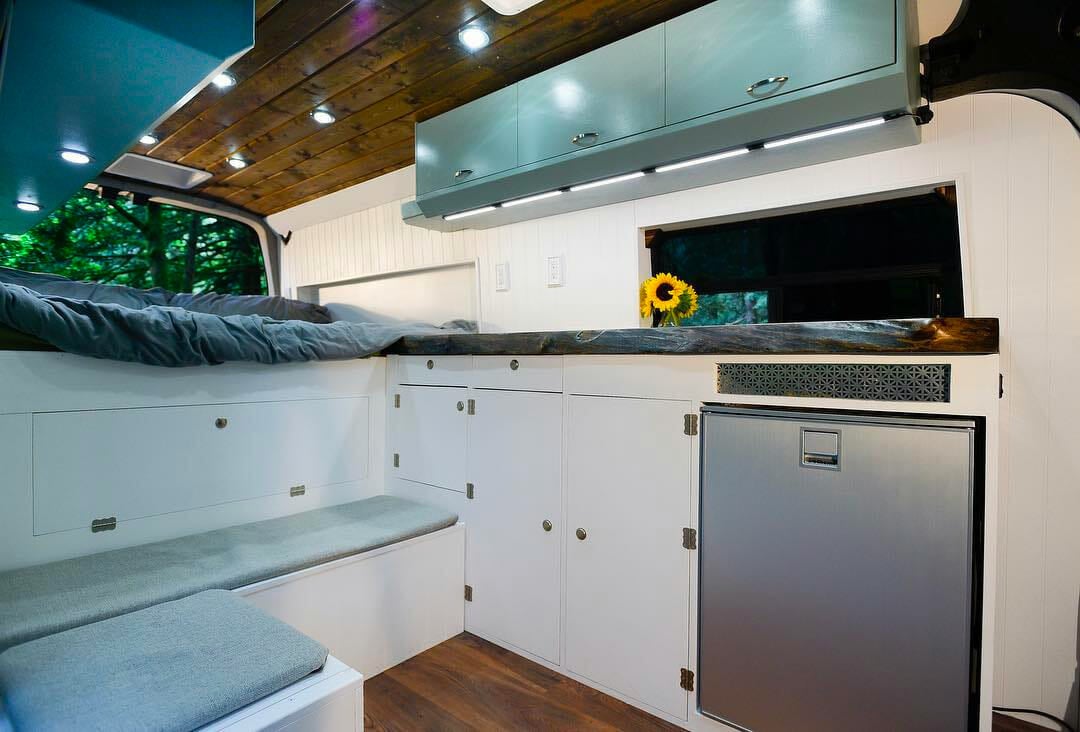
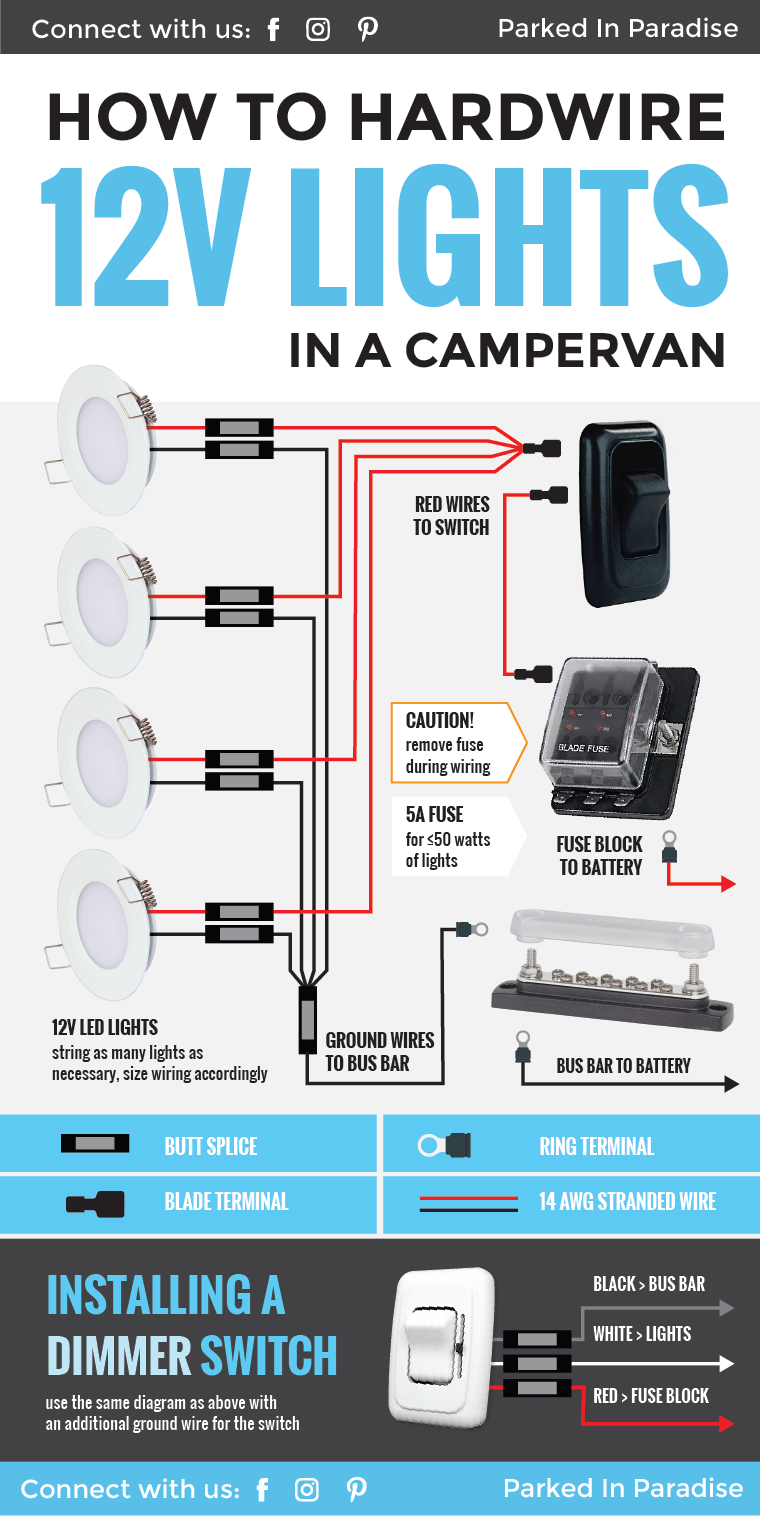
How to Hardwire 12V lights:
Whether you choose to use strips or recessed lighting, the process for wiring for any 12V lighting system will be the same. Because LEDs draw so little power, you can usually string together as many LED’s as you want.
To install lights, we’re assuming you already have a fuse box and bus bar ready to go and attached to your battery. If you don’t know what those are, read this post about RV wiring to get an overview of a full electric system.
The first step before wiring everything is to make sure all of you power is off! There should be no fuse in the location you will be using. Only put the fuse in at the end of the process or if you need to check to make sure the lights work before more permanently mounting them.
1. Wire Multiple Strips Of Lights Together
Start by wiring all strips or strings of lights together. Lights will have a pair of red and black wires coming from them. Because everything is already 12V, you want to wire them in parallel. This means that all of the red wires will be connected together to run to the switch. All of the black wires will be connected together to run to the bus bar.
If you want to go all out, then you can use s soldering kit to connect wires. This is a good video on how to solder wires if you don’t know how.If not, you can twist the wires together an connect them with a butt splice or at a location where a terminal connector will be used. Here is a good Youtube video on how to crimp wires properly.
 General Tips
- Use stranded wire. Solid copper household wire isn’t meant to handle the vibrations. tight spaces and metal rubbing in a van.
- Don’t use twist connectors for joining wires. This is for the same reason as above.
- Test your equipment before installing it (switches and lights). It’s much easier to diagnose and repair issues when they’re right in front of you.
- When running wire, run a little bit extra (6” or so). This is so that if you make a mistake splicing or need a little wiggle room you’ve got some spare real estate.
- Stagger your splicing if you have multiple wires running together. This avoids a big lump of connectors in one spot.
What you’ll need to wire 12v lED lights
- Recessed Lights or LED Light Strips
- 12V Light Switch or Dimmer Light Switch
- Butt Splice
- Blade Terminal
- Ring Terminal
- 14AWG Stranded Wire
- Soldering Kit
2. Wire The Light Strands Into A Switch
One wire will be coming from the fuse box to your light switch. If you’re using 100W or less of lights, this wire should be 14 AWG. If your switch has spade terminals, use a spade connector. If it just has wires coming from it, use a butt connector to join it to the wire.
The second wire will run to your lights.
Dimmer Switches
Dimmer switches have a third wire. This wire is usually black and should be run as a ground to your bus bar. The wire running to your lights will be white in this case.
Alternatives To 12 Volt Light Strips
Fairy Lights
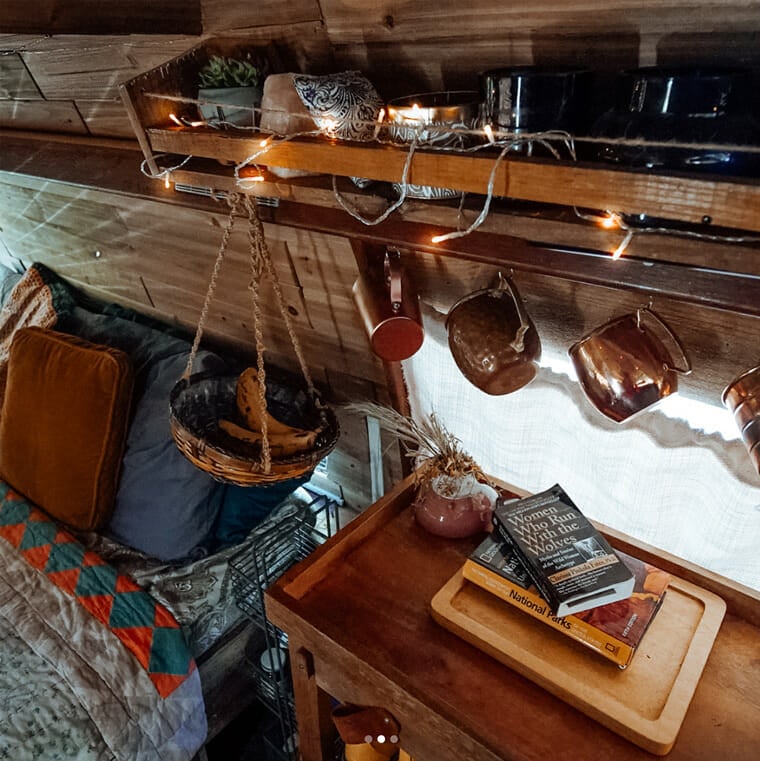
Two things every famous #vanlife instagrammer has in common is a model posing and some fairy lights. Fortunately, these are easy to include if you want. Well, the lights are anyway! Fairy lights can be bought in 12V DC power form and will install the same as the LED options above. You can also buy battery powered fairy lights for occasional use and more flexibility.
We do not recommend purchasing AC powered fairy lights (that’s the kind that plug into a household outlet). The reason for this, is you’ll have to run an inverter every time the lights are on which is inefficient.
Battery Powered Lights
Battery powered lights are our current go-to for cheap, simple setups. If you’re intimidated by electricity (or just lazy) there’s no need to hardwire anything into your van. You can get by perfectly fine with some inexpensive push button lights, a flash light or a headlamp.
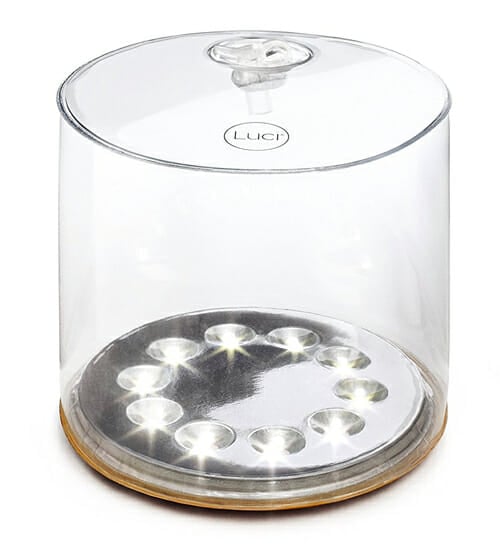
Solar Lanterns
Solar lanterns have become more popular as batteries and solar cells have become increasingly accessible.
Solar lights charge in the sun during the day and then are ready for use at night. Goal Zero, Luci Lights and Biolite all offer solutions ranging from $20 up to $120.
This is a good for those on the road for long stretches of time and no auxiliary battery setup.
The downside to solar lights is that you have to make sure to charge them on a daily basis. It’s an easy habit to form, but can be inconvenient.
Lighting doesn’t have to be expensive, and with a proper install it can make a campervan look much classier. That being said, don’t underestimate the power of a headlamp, LED lantern or battery powered lights. You don’t need to be an electrician to benefit from suitable lighting.

 General Tips
Priceless info. Thx.
Thanks for your info. If installing a dimmer switch, you say the wire from the switch to the lights will be white. Is this a third wire or does it replace the black wire?
Thanks.
the dimmer switch will have 3 wires. In my case / for the dimmers i bought, the white wire goes into a wire nut with your 12v dc positive AND the 12v dc positive that runs to your lights. The black wire from the dimmer goes to your 12v dc negative. And the red wire is where the 12v dc negative from your lights connects. Here is the wiring diagram that came with my dimmers https://i.imgur.com/ROIU9HN.jpg . If you are looking for that dimmer on amazon, search for “12 Volt DC Dimmer for LED, Halogen, Incandescent – RV, Auto, Truck, Marine, and Strip Lighting – LONG SHAFT – BLACK”
In your post it states that the Led light strips with tape on can still be used once Cut. I cut 1 inch off and tryed to find wires in it. Could nit find any at all as how could I use this long led strip or is it no good?
With LED tape there are usually cut marks with a icon of a pair of scissors every 10cm. You can only cut the tape at these points as it gives you a position to solder to. If the tape doesn’t have cut marks then typically it can’t be shortened. Hope this helps.
Hey there, thanks for the info!
I’ve read some conflicting info about whether or not a resistor should be used when wiring up 12v DC LEDs to a leisure battery (via fuse block, of course). Here’s what I want to do…
I’m interested in the color-changing LED strips that have the IR remote receiver and, from factory, an AC/DC converter. I was thinking I could just cut the wires *after* the AC/DC converter but *before* the IR receiver, and connect those wires up to my 12v leisure battery setup. Hopefully this would mean I could have color-changing LEDs controlled by the remote, but wired straight to my DC setup.
Given this, do you think I would need any kind of resistor?
Thanks so much!!! Appreciate your help
-Tyler
No resistor needed. They expect 12v input.
I’ve connected mine to the original 12v light wiring in the back of the van but as soon as you connect the live it blows the 10 amp fuse, any higher fuse and it burns the wire. Any ideas???
Hey there. I’d like to do the same thing. Nothing really on the internet about it. Did it work out with no resistor as you planned?
Your wiring schematic illustrates (4) black wires conjoining into one butt splice and (4) red wires conjoining into one blade terminal. I’ve never seen that done before. Can you recommend a DIY tutorial? Thank you!
That’s my thoughts exactly, how do you connect 4 wires into one? Did you find an answer to this Steve?
Steve & Dave:
There are a couple of ways to do this depending on your needs. If you’re OK with all of the lights connected together (which is fairly common), you can just combine all of them into one terminal connector. To do this, strip a little extra off of each of the 4 wires (about 3/8-1/2″ of wire exposed) and twist the exposed wire together. All 4 wires will be coming off in the same direction. Then use a terminal that the twisted section can fit into and crimp as normal. This is a fast and clean way to get everything into one circuit. It actually looks pretty similar to how it’s drawn. If you want, you can add a zip-tie around the 4 wires afterwards so that there is less stress on the joint when plugging it in.
The downside is that you cannot unplug the lights individually, so your wiring is more restricted. If you feel that you will need to unplug the lights individually for installation or servicing, you can use piggyback connectors. This gets a little messy if you’re using a lot of wires, but follows a more proper one wire per connector rule.
I would think you could also use 2 mini busbars to join the wires closer to the light. Then you only need to run one + wire to the switch and one – wire to the main busbar. Then you have flexibility to disconnect or add on later. I see them selling for under $2USD on aliexpress.
What is the bus bar?
Sydney;
A bus bar is a common point for connecting all of your negative wires. It’s used because most electrical installs have a lot of small negative wires that need to be connected to the battery, but doing that makes a jumbled mess and hard to work with the batteries. So you wire all of them to a bus bar, and then use one large wire from the bus bar to the negative battery. It also helps with some other things such as electrical feedback, but the main purpose for most people is just organization.
If you want to dim a 12 volt LED light, puck, or strip; you do not connect to the chassis for ground. Both leads from the 12 volt LED must go back to dimmer switch. 12 volt dimmer switches have 4 wires, two for supply and two wires to lamp.
Hi, are the 12V recessed lights you have a link too dimmable with the suggested switch? Thanks. Ben
Hi, and thanks! Without giving you all the background, I’ve got a failed switch on my galley 12v overhead LED light (18” fixture, 12” bulb). The switch has 2 black wires; the fixture has 2 red, 1 black, 1 blue. I don’t know what connects to what. Can you guide me? Thanks!
I don’t get it the fuse in fuse block is rated for 5 amps but the switch uses 16amps?
Pav- Yes. The main purpose of fuses in these setups is to protect the wiring. The fuse is rated lower than the wire gauge so that it is the first thing that blows in chase of an overcharge. Everything else down line can be higher; the switch can be rated 100amps, it doesn’t matter. You don’t want anything down line to be rated lower than the fuse because then you risk unpredictable damage or even fire to more expensive parts of your system.
The rating on the switch is the max amps before you need to use a bigger switch.
Can you recommend any specific LED light to use.
I heard that many popular led light as Dimatec used in van conversion give an annoying buzz or humm which can be heard when dimmed.
So I’ve just started to undertake the electrical aspect of my bus build and already I’ve hit a dilemma. The wiring I’m using has 3 wires (hot, neutral, ground). The dimmable switch I’m using has 3 inputs for each of the wires and so do the junction boxes for my dimmable lights. However my Blue Sea Systems Fuse Block has only 2 spaces (hot and ground). I’m wondering where the neutral wire would go in a situation like this? Would I leave it out entirely?
OMG….I am a very very old guy trying to do some projects during this Covid-19 isolation. I decided because of the isolation to put some LED lights in my Transit van. Problem is I know little about electrical . I do however enjoy learning and stepping outside my comfort zone.
Your tutorial goes above and beyond to the point I will now throughly enjoy this project.
Thank you!
I have trawled the internet for months looking for this kind of tutorial. I have watched lots of YT videos and none give the behind the scenes I would call it, where and how you connect and where the wires go!!!!!
I am a newbie and learnt lots and thanks to this a lot more confident. Thank you x
The main one was how on earth do I connect all the lights to one point and how, this has been answered.
But one question that has been asked can you have a separate bus bar apart from the one I have on my fuse board closer to the lights and the negative from that connected to Fuse board bus bar, or am I complicating it. Thanks in advance
Hello! Currently working on a van build. Can you a see a situation in which you would only use LED light strips, and not need the recessed Acegoo type lighting above? Or do you think the recessed lighting in the ceiling is really necessary/ideal? Thanks!