This post may contain affiliate links. As an Amazon Associate, I earn from qualifying purchases. Please read my full disclosure.
Planning what to pack for an adventure that is largely based on having no plans is an odd task. Up until now, our camping gear collection was for backpacking trips – teeny tiny lightweight titanium equipment with fabric that tears if you lay it on a piece of grass wrong – which didn’t seem to match our newly found space. Mix that in with my garage full of tools for working on cars and you get a weird jambalaya of equipment to pack. Once we organized it all we found what we are thinking will be a good balance for city and wilderness travel; how well it will work is anyone’s guess.
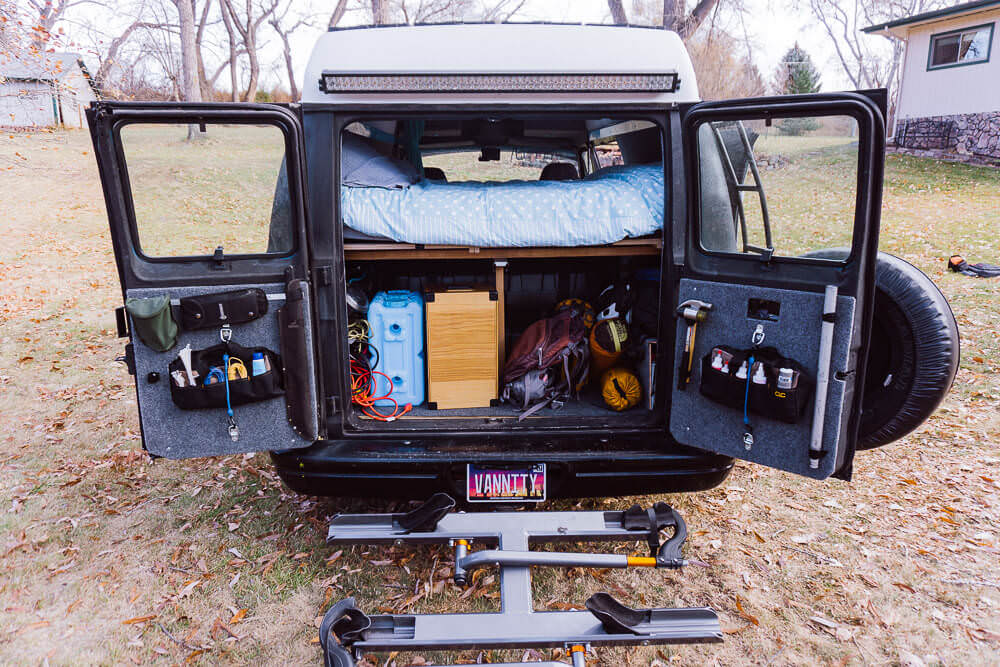
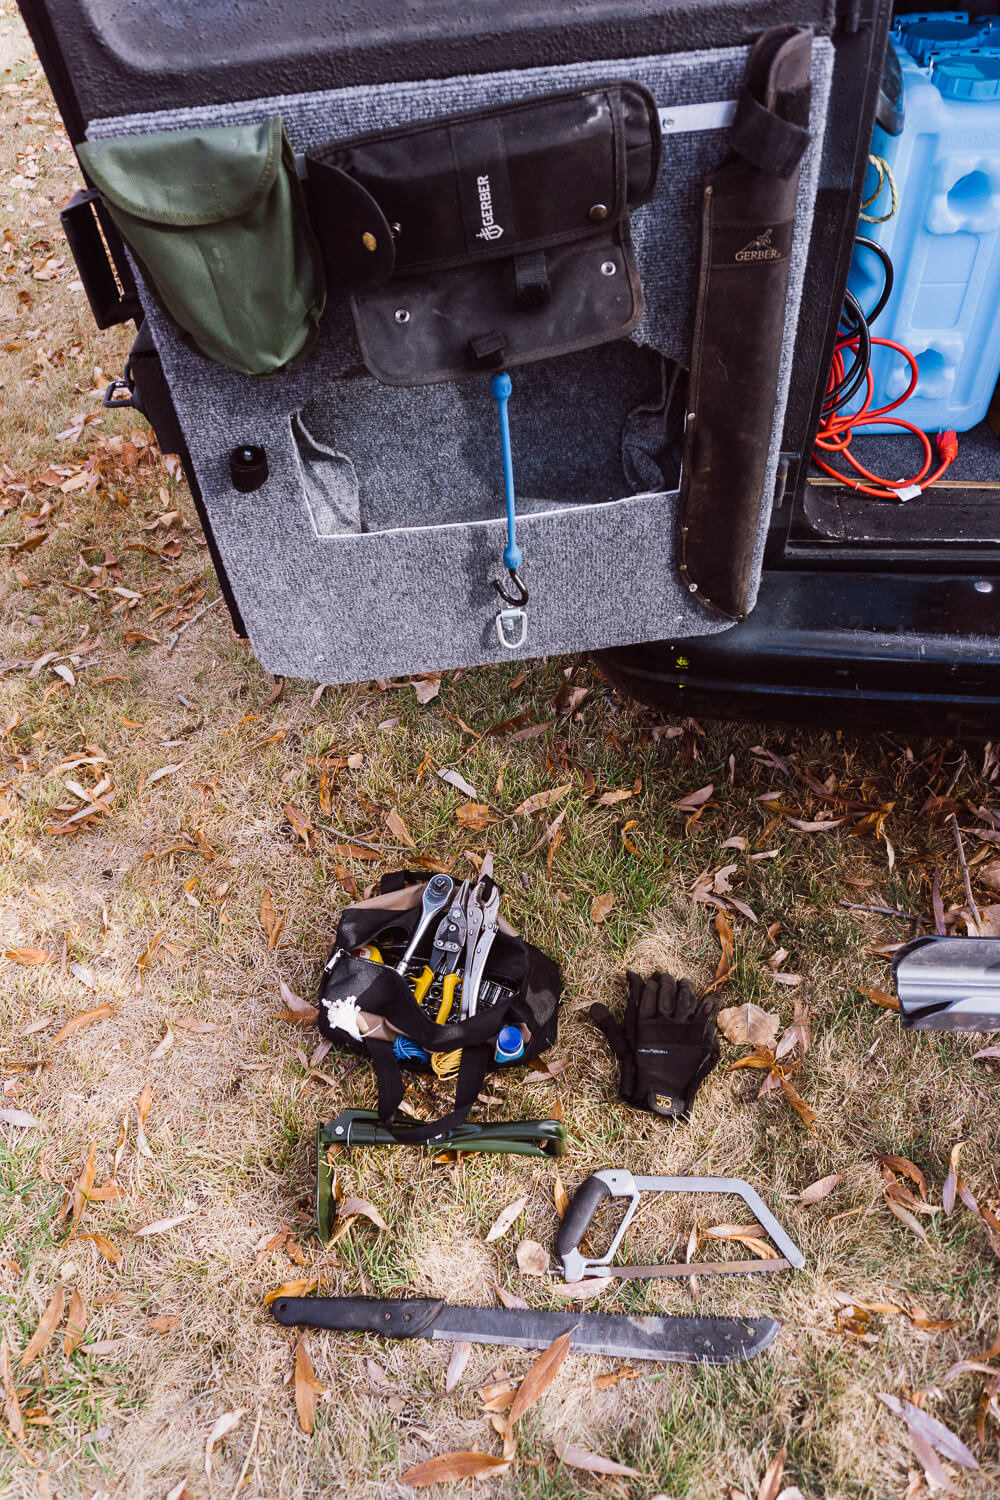
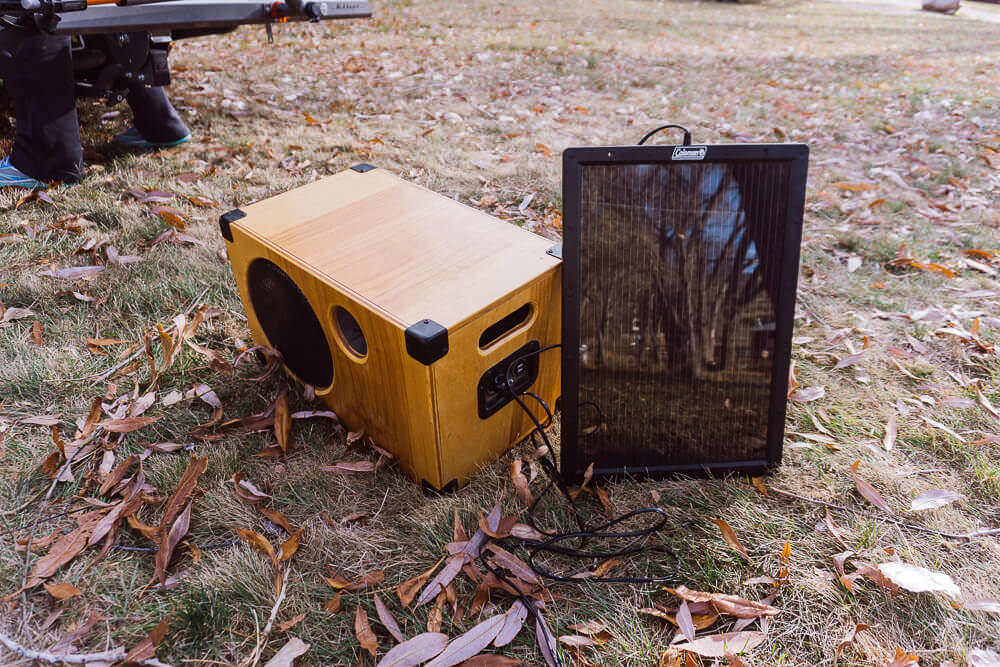
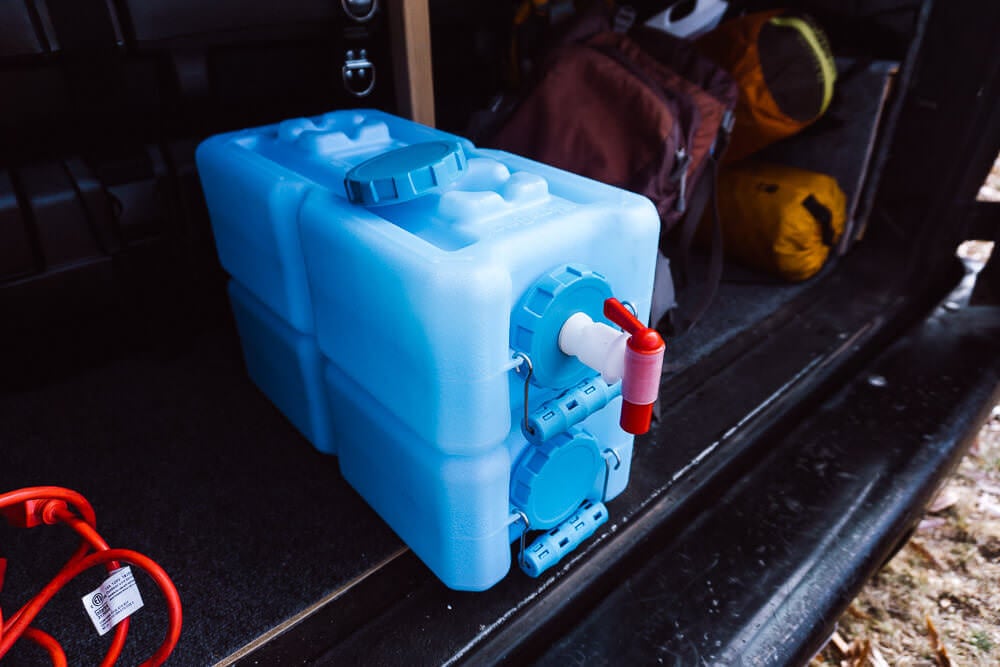
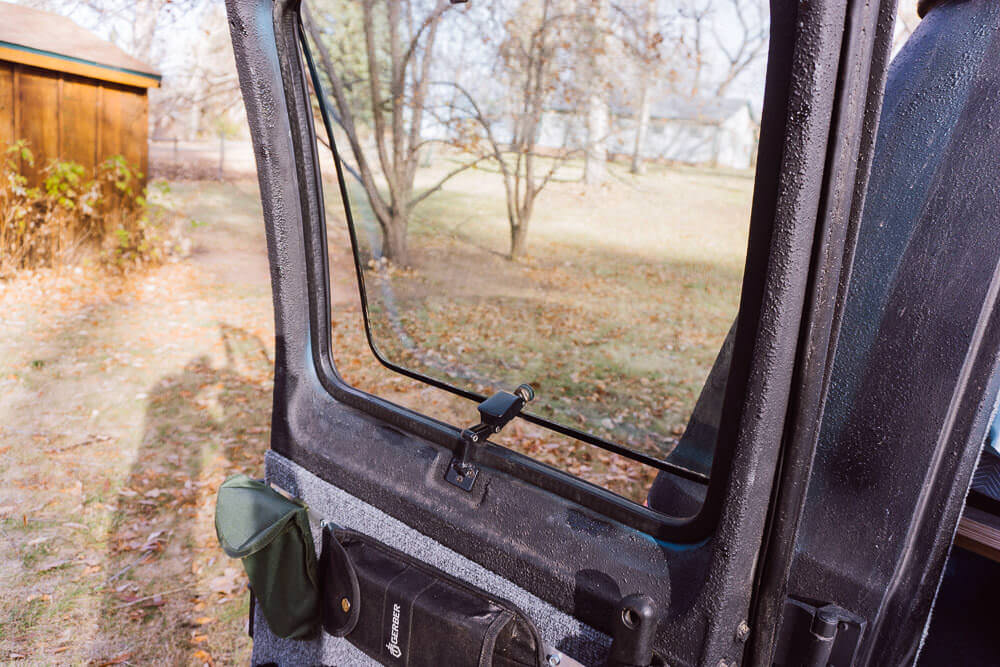
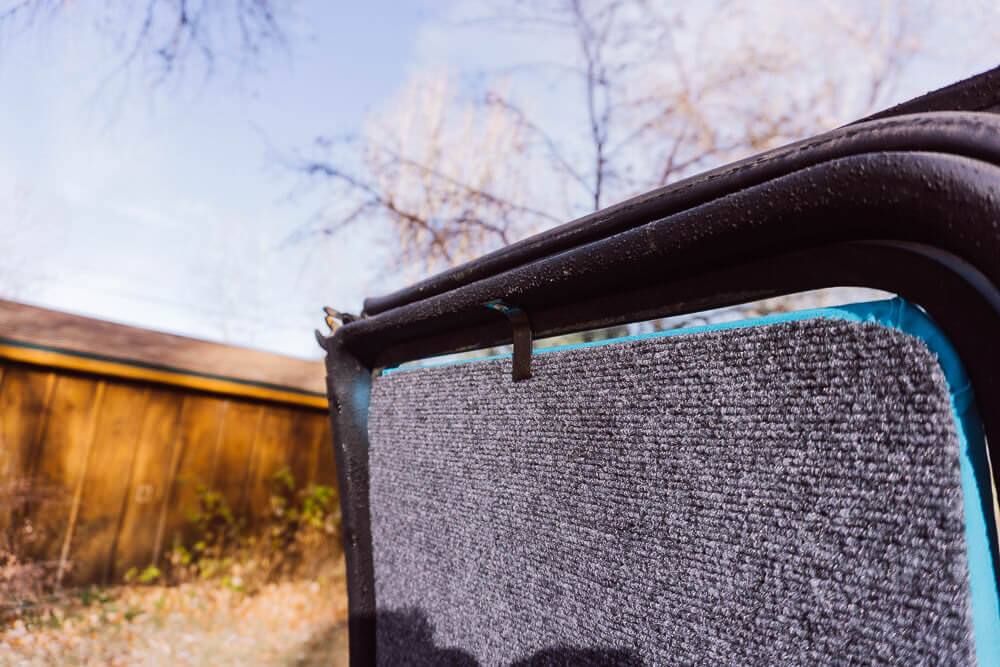
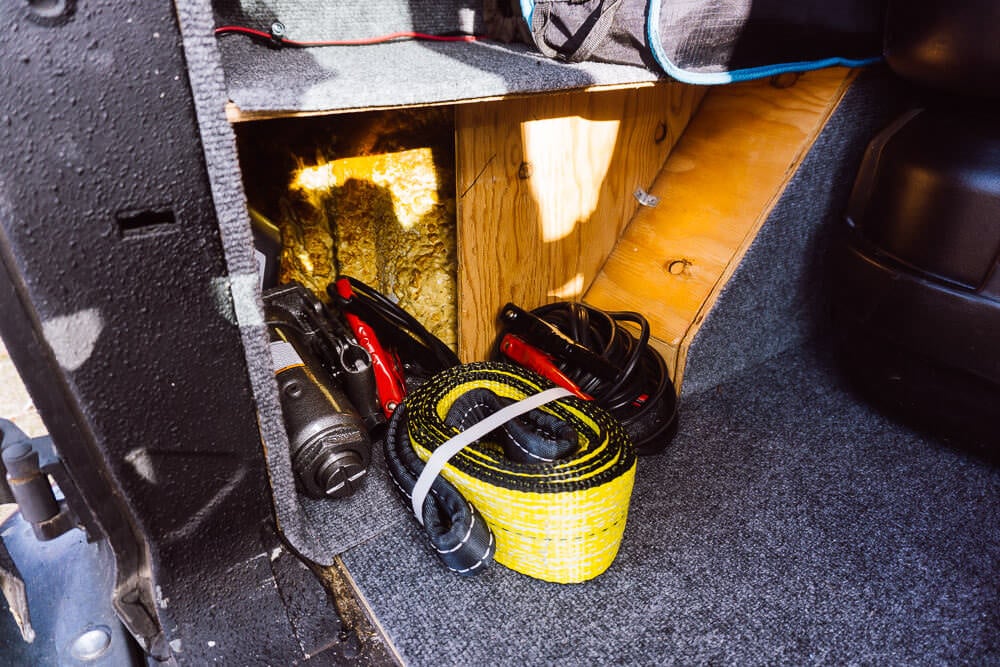
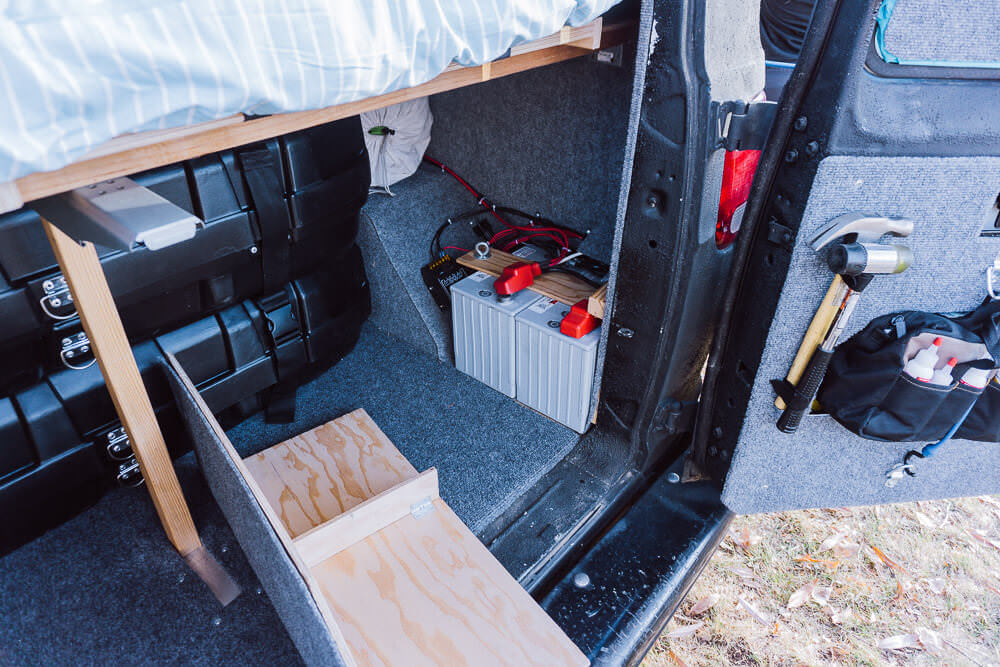
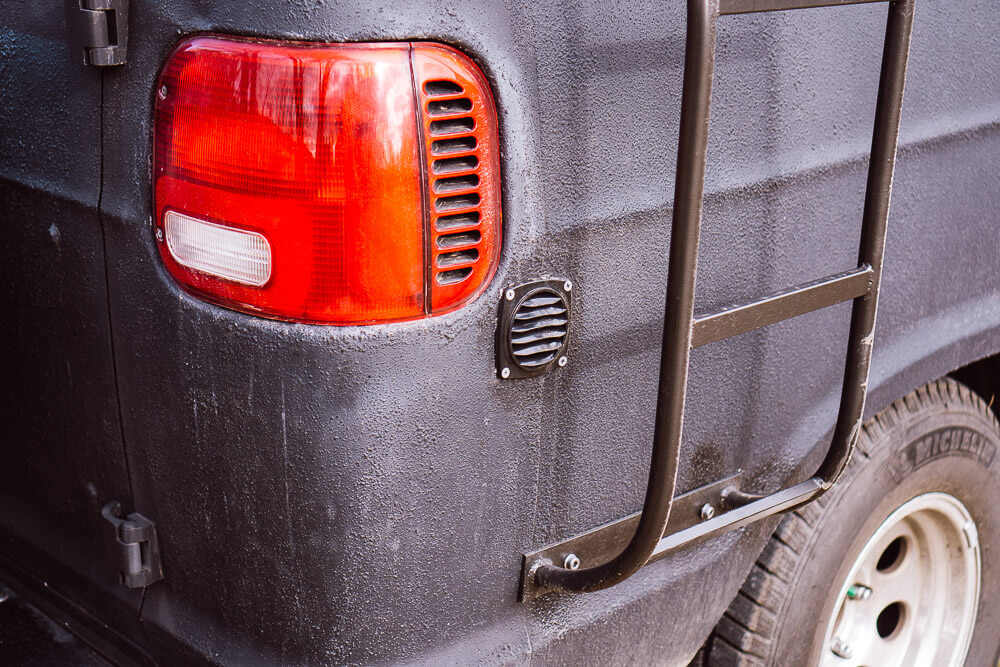
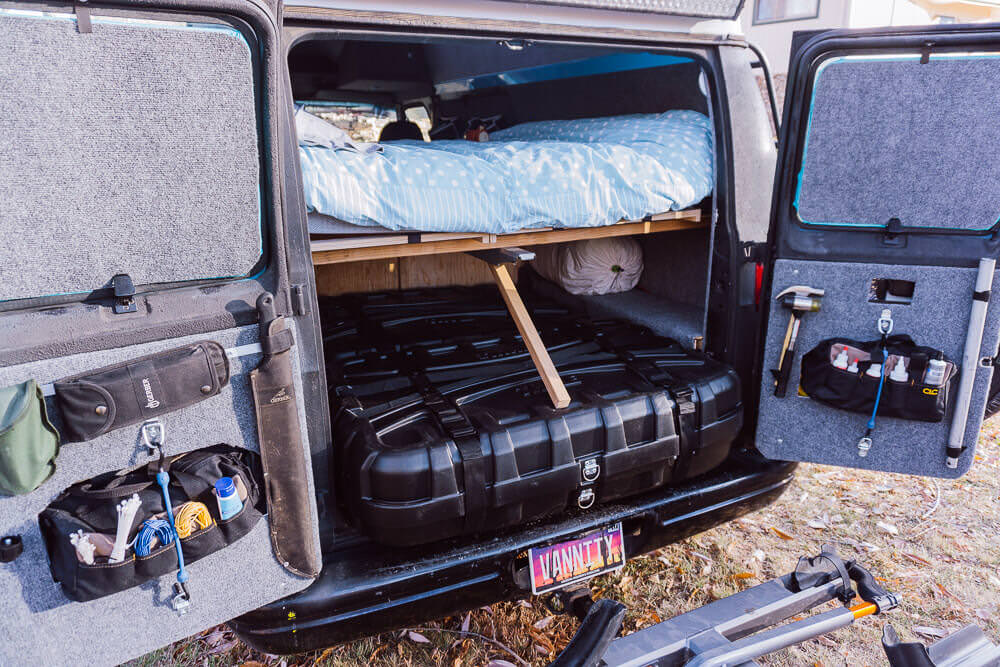
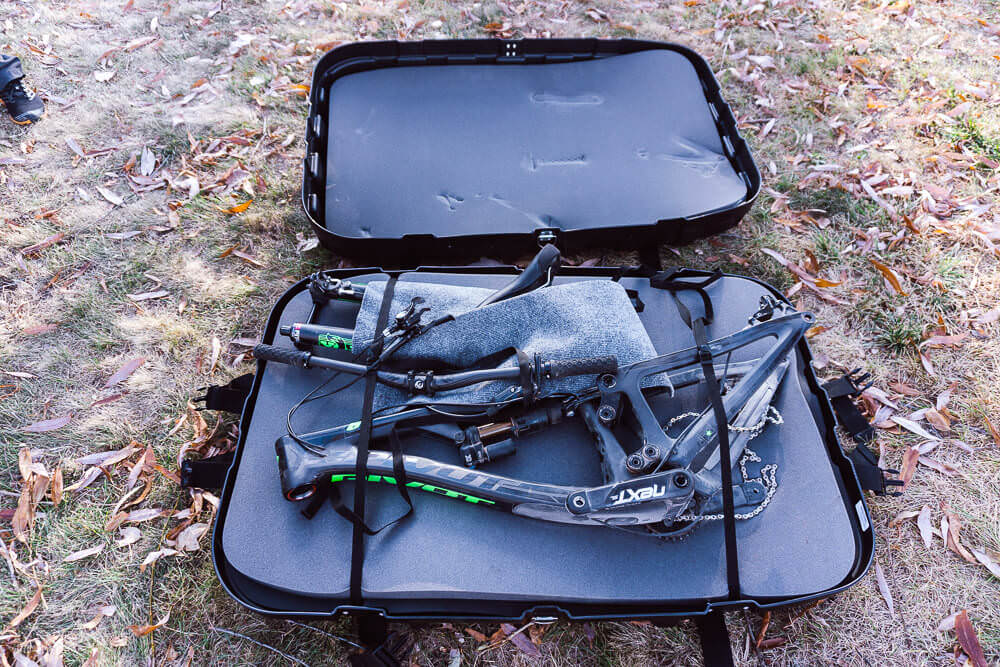
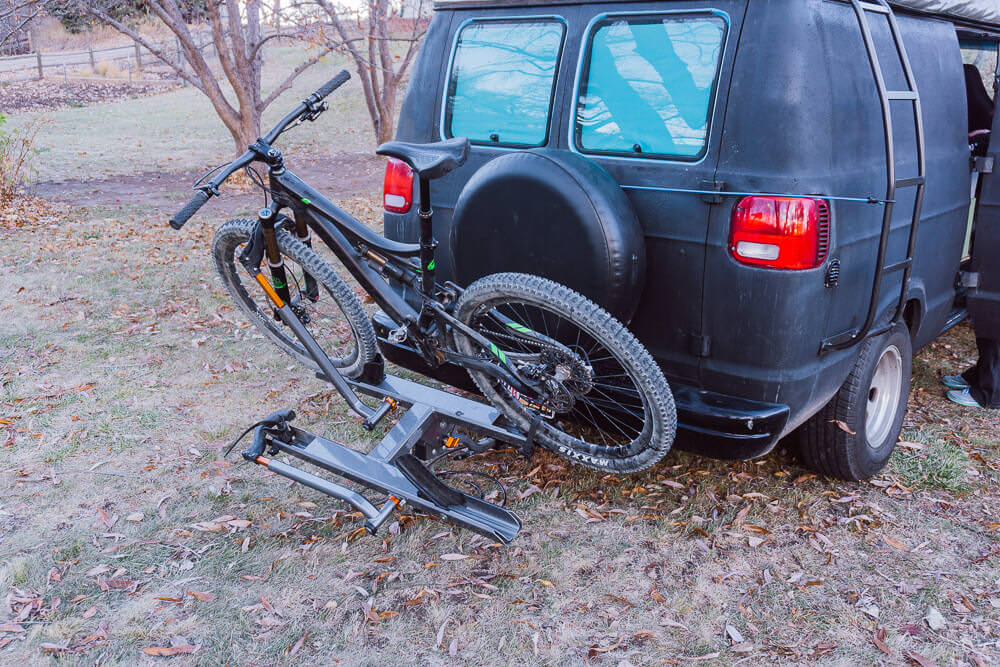
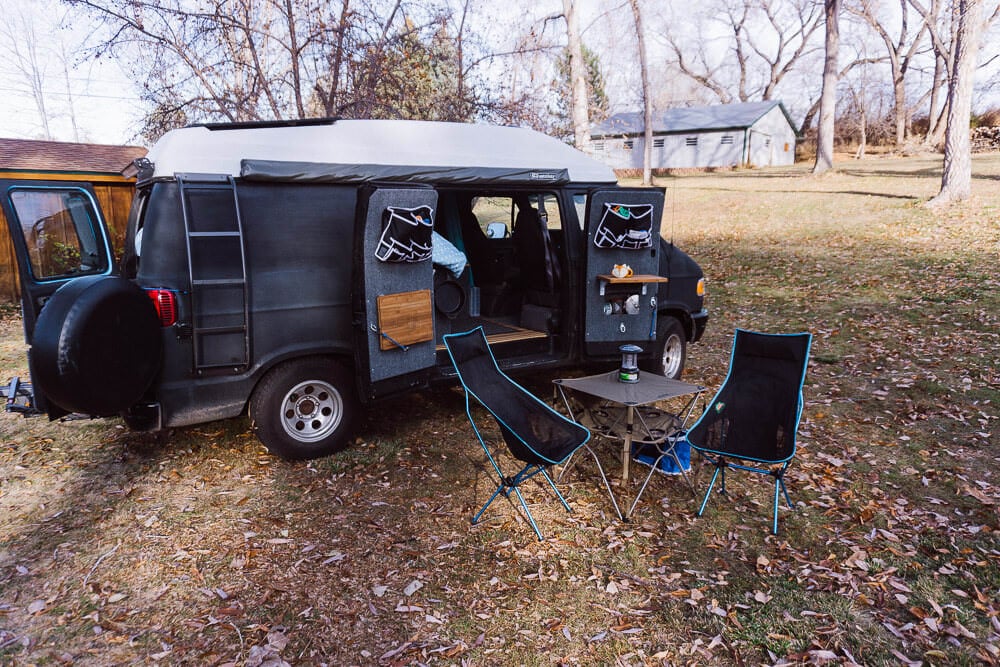
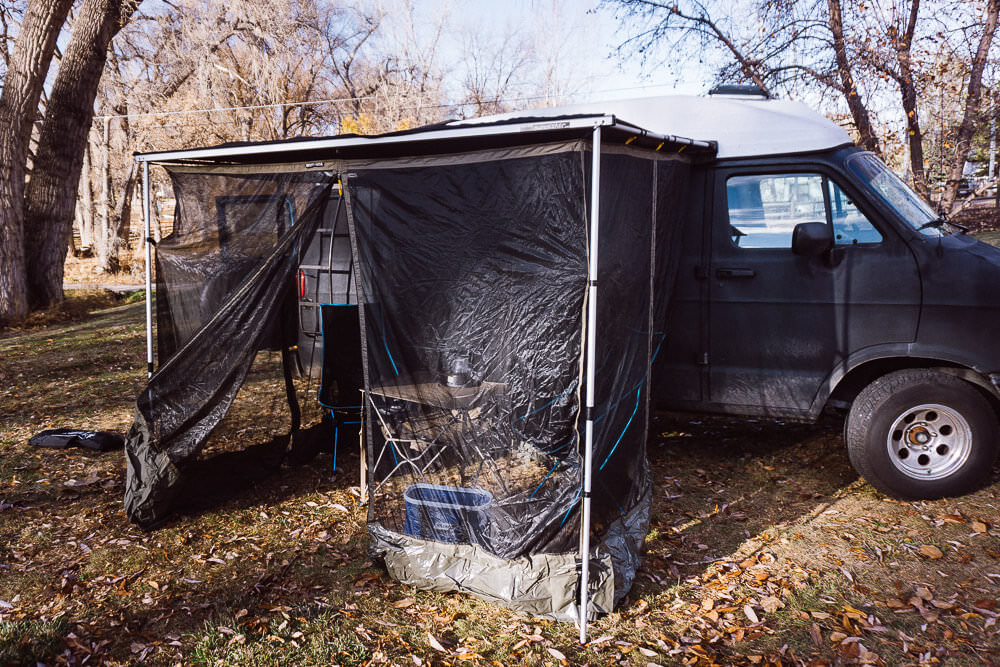
The utility end of the van has our toys and tools that we’ve projected will be needed along the way, and probably some that we won’t. Ok, definitely some that we won’t. But we put them in anyway because they fit and we don’t have a permanent residence anymore.The door on the left: This is about as expedition prepped as we get. If we were taking a 50-cal it would be right at home in this panel. Hunting rifle aside, we have a camp shovel, Gerber Gator Camp Saw, Gerber Gator Machete, tool bag full of wrenches and pliers, work gloves with a polyurethane Better Bungee holding it in. The bungee works pretty well in this case; it’s not nearly as stretchy as a standard corded bungee and should have a better memory to it, but it won’t work in the same manner that people expect bungees to work. Everything is just strapped on using the belt loops that come on the equipment.I built this camping stereo a few years ago from plans on the diyaudio forum. It’s a “half boominator” and is designed to be a high-efficiency speaker and battery setup so that it can run indefinitely on a bit of solar (and for several hours on the battery alone). This one is charged by a Coleman 10w solar panel, which doubles as a backup battery charger should the current system redundancy fail. I might to a write-up on the project later if I can find the process pics.These little guys were a diamond that we found in the depths of an adventure blog. They’re called Water Bricks and are more durable and easier to handle than some of the more common camp jugs. We didn’t want to risk soaking all of our gear so we needed something with a good seal and thick walls. Right now we have 7 gallons, we might upgrade to 14 if we think we need it. Bonus for the color match.The van came with sealed windows and we upgraded them to hinged vented ones courtesy of the local pick-n-pullCustom privacy window covers that Kate made. These tabs hold the cover in well enough that even when the window is open we can still have fresh air in the van. They’re made from spare rigid insulation foam covered in carpet and cloth.This is our vehicle emergency corner. Jumper cables, 8′ Winch strap, and Harbor Freight 8 Ton Bottle Jack. Probably won’t be seeing too much use of this nook, but it’s there in case we need it.The Electronicals! We have 148ah of deep cycle 12v charge for the living area via two MK batteries with a cover to keep them isolated from the rest of the van.Electricians will want to cover their eyes for this part. To keep things under control we have a fuse box for the accessories. We also have a solar charge controller and regulator, which takes the 24v roof solar and charges the 12v batteries as well keeping the setup from overcharging the batteries. It’s rated up to 20A and from my calculations, we should only be seeing a 7.5A output max from the panels (3.75 input max). I have no idea if I’m converting the data right, but nothing has burned down yet. That relay you see in the back is part of a harness kit for the lightbar. I’ve found these kits are cheaper and easier than making my own and with all the light bars and HID downgrade kits out there they are easy to find.All sealed up. There is debate as to how much ventilation gel (aka. SLA) batteries need, as they really only let off hydrogen gas in the case of heavy overcharging, which would mean that the solar or alternator are misbehaving badly. In either case, the compartment should keep most of that non-existent gas away from our bed (and heads) as well as reduce the chance of a short circuit.In the upper end of the compartment behind the batteries, we installed a marine vent for the theoretical hydrogen gas.What’s behind the post? Bet you didn’t see the bikes hidden under the bed, did ya?! These Thule travel cases are made for shipping bikes around when folks fly, but they turned out to work well to keep our expensive rides hidden. When we are sleeping in the city or want to leave the van for an extended period of time they won’t be as tempting to opportunists. This is the reason we designed the bed to be fixed and higher up in the living area. It’s as low as it can go and still fit the bike boxes.Some assembly required. Takes about 15 minutes to put the bike together.For when we’re around camp or moving to another biking spot, we can put the bikes on the Kuat Sherpa bike rack. These platform style racks are by far the easiest to load and unload bikes from. I didn’t assemble Kate’s bike for the photo shoot to build suspense on what it is. That cord on the ground is hard to see, but it’s a separate hitch lock for the bikes when they’re on the rack.Making our way to the assembled living area. In the trunk, we also store a canvas folding table as well as these two awesome lightweight collapsible chairs . These things are so light and compact that we’ve taken them backpacking before, and they’re quite comfy. On the table is a solar lantern from Harbor Freight that we’ve owned for awhile and behind the table is a Camco collapsible wash bucket for cleaning.The coup de jour of our setup is a Rhino Rack Sunseeker awning bolted to the fiberglass top. A bit pricey but holy hell this thing is easy to set up and we’ve preemptively prepared for large ‘skeeters with the additional mesh room. The awning has already proven to be a major upgrade to the camping that we’re used to. With the side swing doors, there’s currently no easy way to have access to the interior of the van as well as a fully sealed room but we’ll see how much of a big deal that is on the road.
Kate is the lead content creator for ParkedInParadise.com and has spent over two years living in a camper van conversion. She has traveled through 48 US states and writes about van life, camping and RV living.


This Post Has 0 Comments